
Feb3
READ THE POST


It’s official—Counter is now open! Formerly known as Beautycounter, the brand just relaunched with a sleek new look, a more curated lineup (starting with 19 clean beauty essentials), and a better (aka FREE) perks program. I LOVE my current skincare routine (mostly Oliveda – reviewed here) but I am excited to get my hands on the Cleansing Oil, Skin Twin foundation, and Sheer Genius Lipstick from Counter. You can see the new Counter here.
Join my Beauty newsletter to get updates, favorites, and honest reviews as I test everything! And if you have questions or need help, you can always hit reply to any of my emails – I read every one. You can find out more about Counter’s launch at this post.
—
My new favorite clean skincare brand is: Oliveda. Read my Oliveda review here.
I’ve used Beautycounter products for 7.5 years and I’ve tried almost every single product they sell. And while I have lots of blog posts reviewing individual Beautycounter products, their Never List, FAQs about being a consultant and about their compensation plan for consultants, I’ve never had a spot where I list all my favorite Beautycounter products (as well as the ones I don’t love) and instead just emailed my beauty list about it. But, I thought it’d be handy to have a spot on the blog since this can be accessed anytime.
I have a blog post about how to save money on Beautycounter, but the #1 way is to join their customer loyalty program, Band of Beauty. It’s $19 and it gets you free shipping on all $75+ orders, plus 10% back on every order to put towards your next orders.
For example, if you spent $200, you’d get $20 in product credit back and save $6.95+ on shipping on that order ALONE. (Shipping can sometimes cost even more since it’s based on weight.) You’ll also get a free gift that appears in your cart when you enroll. It’s dumb not to add Band of Beauty to your cart when you’re shopping.
Okay, back to my favorite products.
I first listed the products I use regularly, and then products that I’ve used in the past and like just fine, but am currently using others that I like better. Then, I listed products that I don’t like. If there’s anything you’re curious about that I didn’t mention, feel free to leave a comment and ask. I think I’ve tried every single product they sell.
Before I list out ALL of my favorites (since there are a ton), I wanted to share my top 3 picks. If you were to only buy a few items, get these:
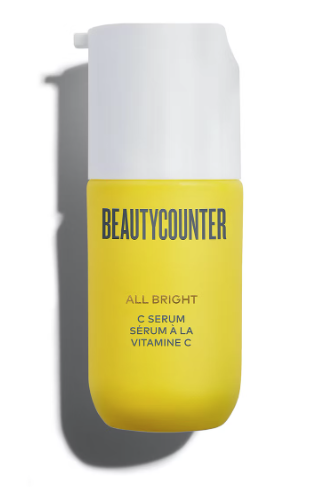
#1. All Bright C Serum – This smells amazing and is fantastic for dull skin. It also helps protect against sun damage.
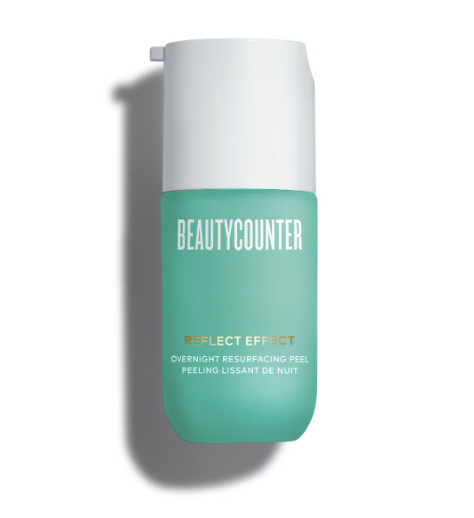
#2. Overnight Resurfacing Peel – A safer alternative to retinol. This is great for anti-aging (fine lines, skin spots, etc.)
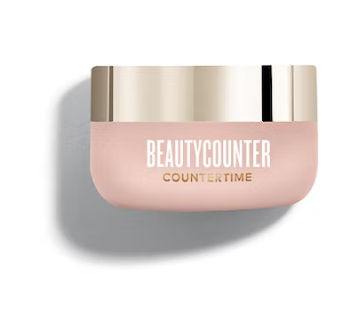
#3. Countertime Tetrapeptide Supreme Cream – The most hydrating night cream I’ve ever tried. This is great for dry skin but it’s not greasy.
You can see my full skincare routine in this blog post. (It’s a mix of brands, but mostly Beautycounter.)
This is a no frills cleanser, but I honestly love it. I like it slightly better than the Countermatch and it’s cheaper. It’s great for teenagers without any skin concerns or if you have extra sensitive skin.
This is a great cleanser too but I prefer the consistency of Counterstart. It’s great for combination skin.
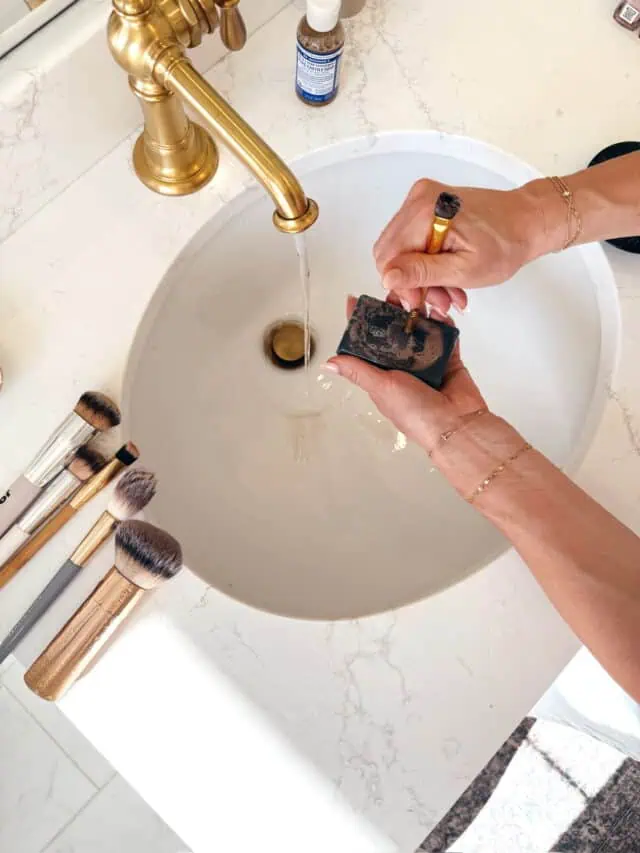
I always have this on hand! I don’t use it on my face often since charcoal can be drying and I already have dry skin, but I use it on my underarms and to clean my makeup brushes. This post has more details about the charcoal bar.
This is the best exfoliator I’ve ever tried! It’s a little powder that can be added to any cream cleanser and makes my skin feel so smooth but never strips it.
This is toner designed for dry skin. It makes my skin feel hydrated right upon application and it actually has the highest amount of bakuchiol of any of their anti-aging line, so it’s a must if you have dry, aging skin. (I listed out the best Beautycounter products for aging skin here.)
This is my favorite Beautycounter moisturizer. I’ve tried countless night cream. This is still my favorite. It’s incredibly thick, but never greasy and a game changer for dry skin.
I often try other eye creams but always come back to this one! (I also have a full review of the Countertime line since it’s the one I use.)
I LOVE this product and think everyone should have it. It’s a pregnancy-safe alternative to retinol (and it’s also more gentle) that helps with fine lines, dark spots, skin texture and can even help with breakouts. I have a full review of the Overnight Resurfacing Peel if you want more details, including a before and after. If you are pregnant, here’s my pregnancy skincare routine.
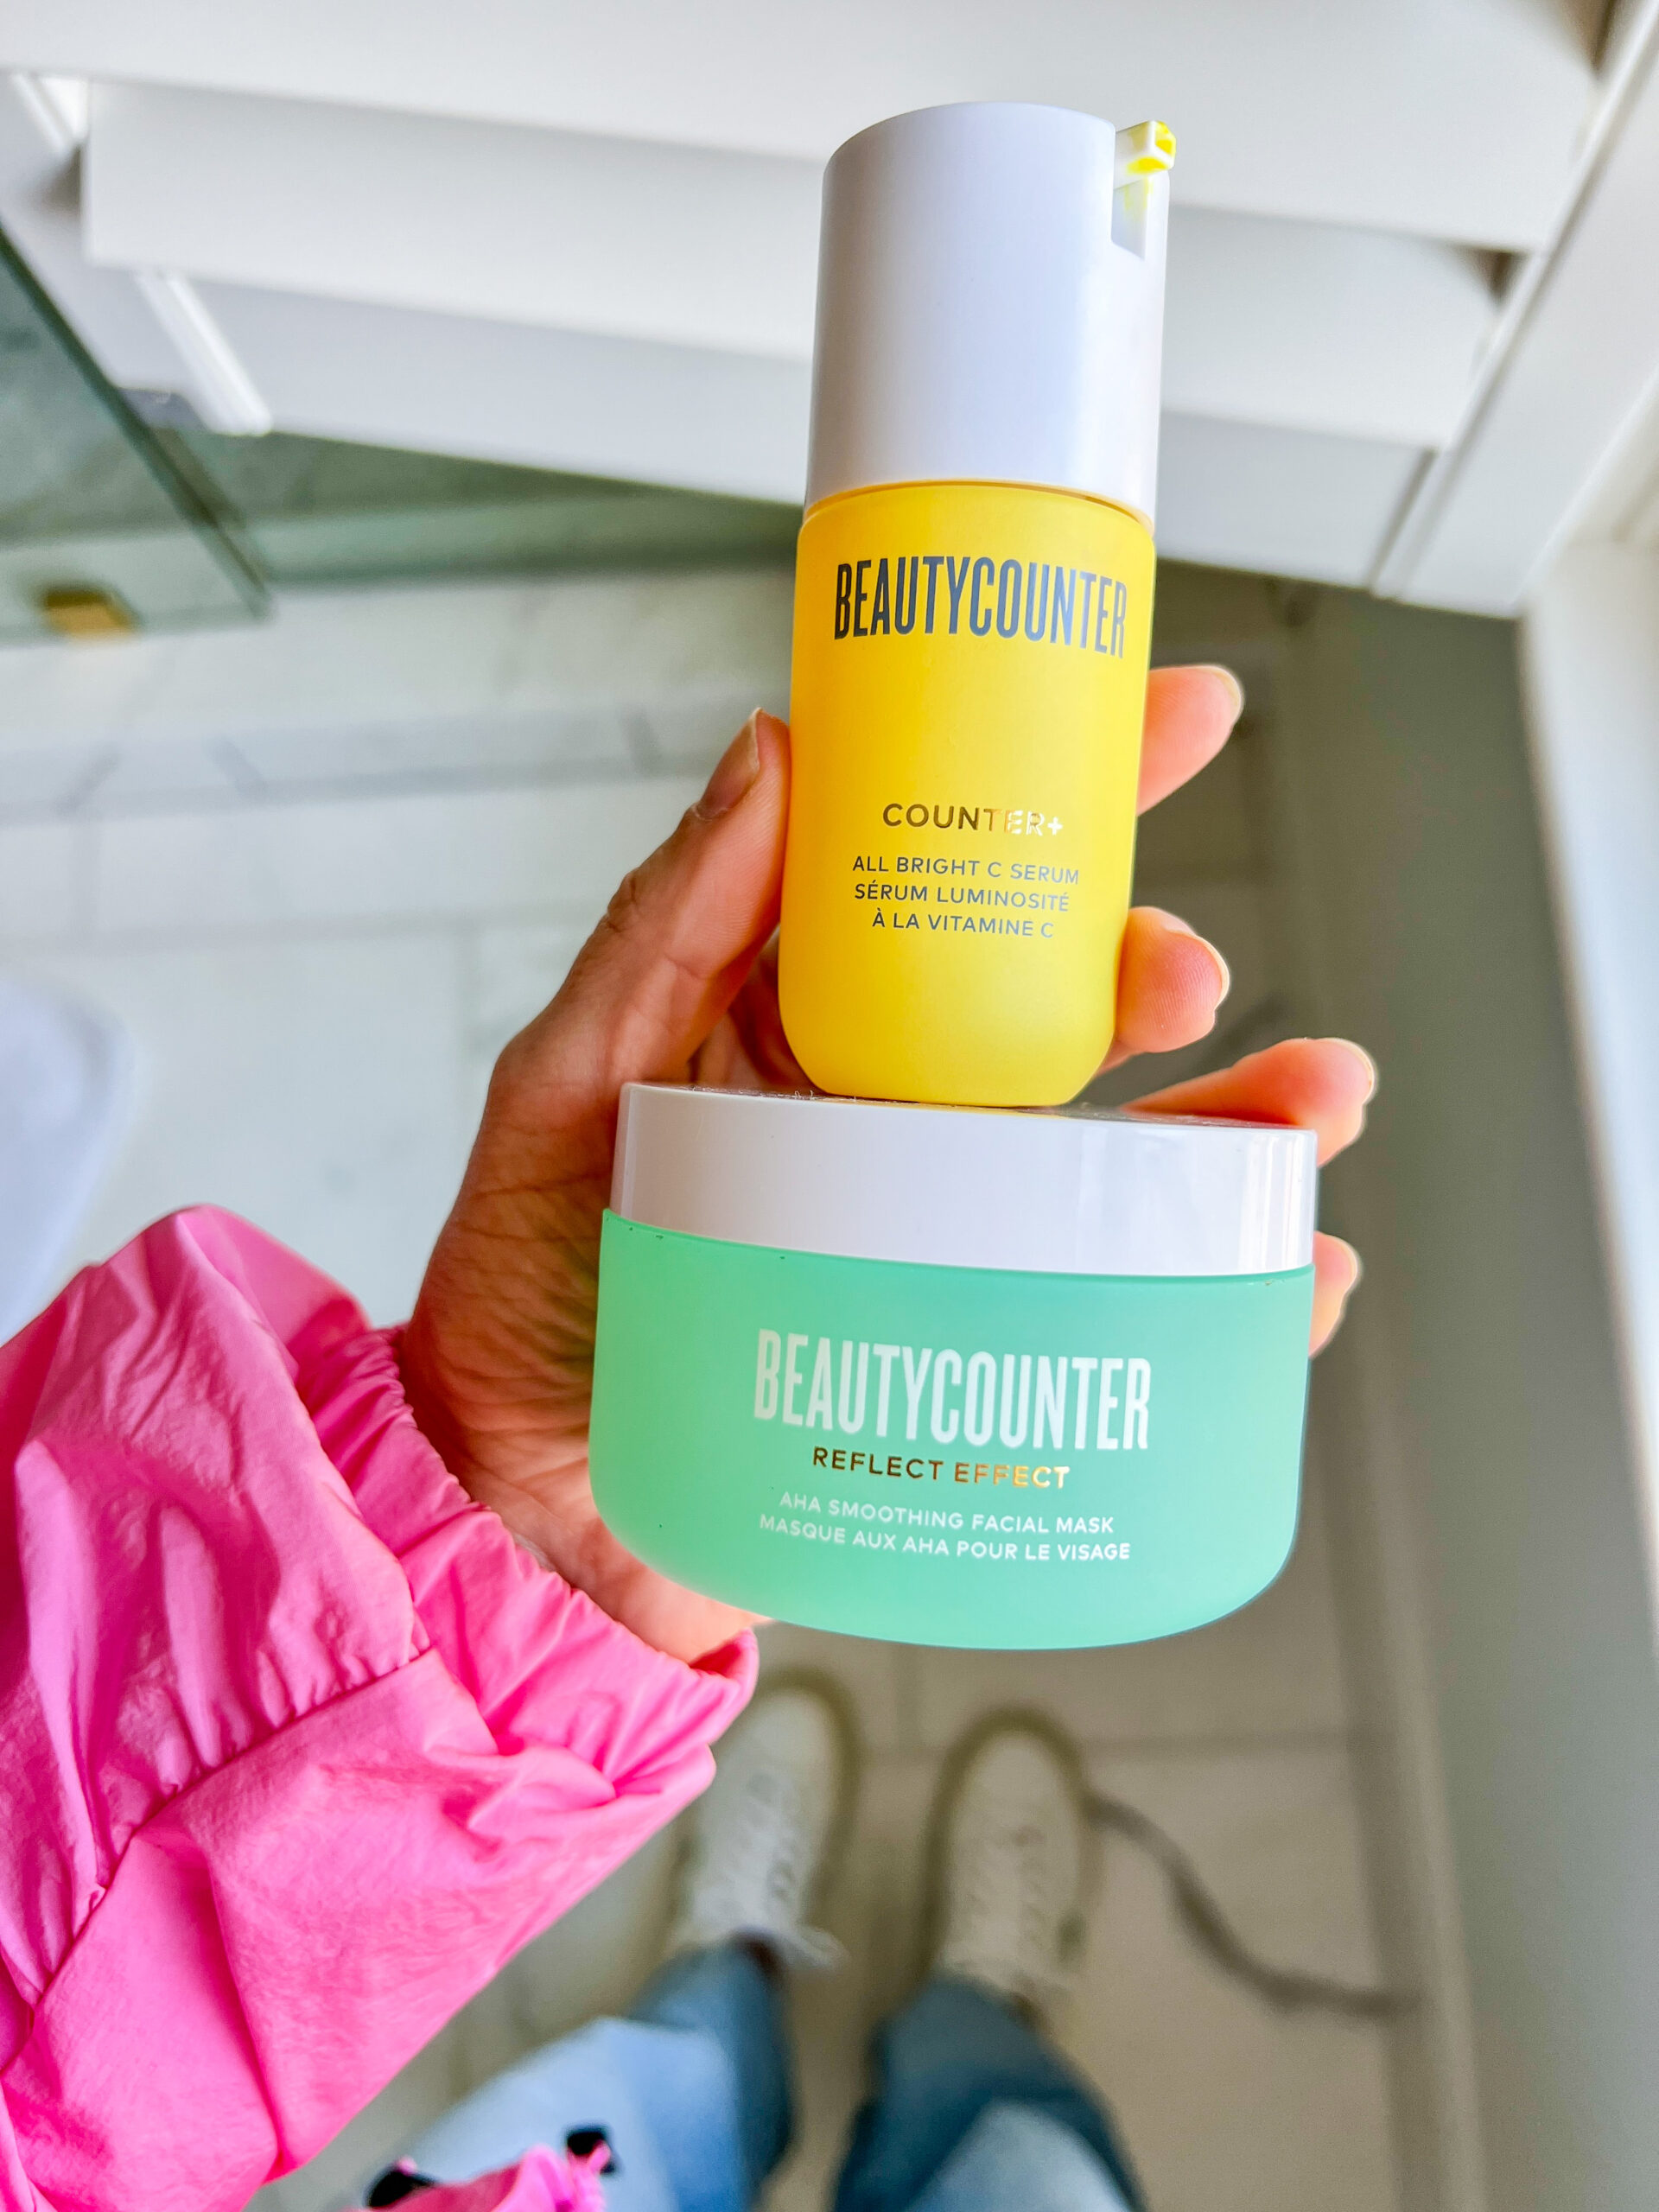
I’ve tried 3-4 vitamin C serums and still like this one best! It’s amazing for dull skin and has stable vitamin C (which is more important than percentage). This review of the All Bright C serum explains stability vs. percentages and shows the bright yellow color.
I hate doing masks but this one makes my skin look so good that I force myself to use it a couple times a month. My review of the Beautycounter AHA Smoothing Mask shows the gel-like texture.
Also, I don’t use any of the Countercontrol line since it’s for oily skin and I have very dry skin, but my husband has used CounterControl for years and loves it (and it cleared up his persistent acne).
This is a must-have for me. 90% of our skin’s damange comes from teh sun so if you care aobut anti-aging, you have to wear sunscreen daily. I like this one because it applies sheer, isn’t greasy and doesn’t leave a white cast. I even use it on my arms and legs everyday; it’s a pricey habit but if it gets me to wear sunscreen daily, it’s worth it. You can see how it applies in my Beautycounter Daily Sheer Defense Review.

This was the first foundation I ever liked and I still like it, years later. I use a different foundation almost every day since I just enjoy using different products based on my mood and what look I want and I use this one about once a week. It’s medium coverage and not too matte or dewy. It’s a great option for photos since I know it will always look natural. You can see what it looks like applied in my review of Skin Twin.
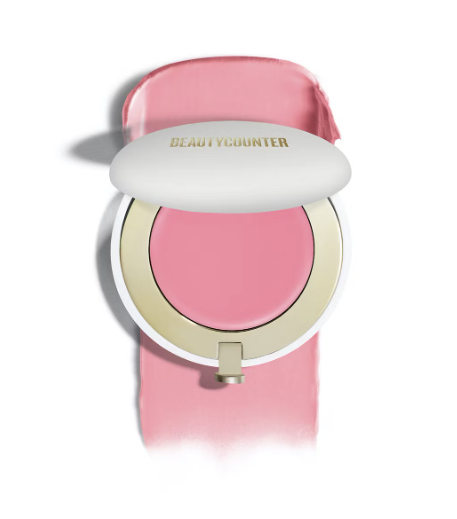
I have a ton of blushes I like from Tarte and Ilia, but Beautycounter’s cream blush is near the top of the list! I especially like the Goji shade, but you can see all the shades I like in my Beautycounter cream blush review.
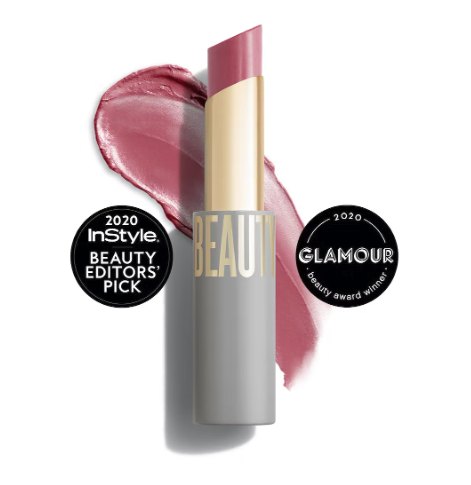
I absolutely LOVE their sheer lipstick in Lily. It’s the prettiest, natural shade and can be applied like a balm without a mirror. I always have this on hand. I have loads of shades, but Lily is my most worn. (This post reviews all the different beautycounter lipsticks.)

I’m not too picky about shampoos (well, other than scent which I am VERY picky about) but my husband and I both use and like this.
Same as the shampoo! It’s find (I also use it to shave my legs since Beautycounter discontinued the world’s best shaving cream. Alas.) I also use the Colleen Rothschild intense moisture hair mask 1-2x a week.
Love this. Smells amazing and a little goes a long way.
I love love love love this. It’s so underrated. Smells amazing and makes my skin look like new. I always use it before I apply my self tanner.
I just started using this so I don’t have a solid review yet, but I’m hopeful it helps with some of the bumps I have on the back of my thighs. I know a lot of people have found it helps with bumps on the back of their arms too.
Nothing fancy, but my husband and I both use it. It has a light smell and is hydrating but not greasy. I also like that I can buy refills for it. Switching my body lotion to something safer was one of the first swaps I made since it covers my entire body.
I have a few clean deodorants that I rotate among, including Primally Pure Deodorant and Agent Nateur Deodorant, but the Clean Deo in Lavender is one of my favorites! This Clean Deo review shows how it’s refillable feature too.
I love their sunscreen face stick and keep one in my swim bag, golf bag and running bag. For sunscreen lotion and mists, I slightly prefer Florida Squeezed Mist Sunscreen since it applies clear, but Beautycounter’s are solid too. You will have a little bit of a white cast though. This post lists my favorite non-toxic sunscreens for your face, body and family.

I really really like this and if I had to pick my favorite cleansing oil, it’d be this. But I’m on a cleansing balm kick lately and love the Colleen Rothschild Cleansing Balm so I haven’t ordered the Beautycounter Cleansing Oil for a while. But if you definitely want an cleansing oil, you’ll love this.
This is a solid serum for hydration and fine lines, but it’s not life changing. It’s definitely more affordable than my absolute favorite Skinmedica TNS serum though.
This is great option for dry skin, but I’m currently working my way through a similar hyaluronic acid by Colleen Rothschild.
This is a lightweight daytime moisturizer and contains bakuchiol. It’s hydrating but not heavy. I am currently using an OSEA moisturizer in the AM, but once I run out of that, I’ll likely go back to the Soft Cream since it’s so lightweight but hydrates well.
I like this, but prefer a heavier moisturizer for nighttime. If you want a night time moisturizer that doesn’t feel heavy, you’ll like this.
This is a good option if you have combination or sensitive skin. I prefer something with more anti-aging active ingredients that’s a little more hydrating.
I like this and used it for years, but I like the Colleen Rothschild No. 9 Face Oil better. If you want a slightly heavier face oil, you’ll like this. My review of the Beautycounter Brightening Oil explains how it’s different from a vitamin C serum.
I don’t have one I like better, but I don’t use a makeup primer often enough to list it as a favorite. I explained the benefits of it in my review of the Glow First Serum review.
I really like the lighter shades for a natural makeup look. My makeup routine reel shows how it applies. I haven’t tried the darker shades.
I used this for years and really like it, but I prefer a little more coverage for my under eye area these days and use Tarte’s Creamy Shape Tape Concealer. If you want light to medium coverage, you’ll like Beautycounter’s concealer.
I found that this container ended up leaking a bit and made a mess in my makeup bag. Plus, I’m not much of a gloss person. If I am wearing gloss, I like Tarte’s Maracuja Juicy Lip.
I used to LOVE this but hated that it stung my eyes. I started using the Colleen Rothschild cleansing balm recently and much prefer it – it’s more hydrating and doesn’t sting my eyes.
It almost pains me to say that I don’t like this since it was my very first Beautycounter product that made me fall in love with the brand, but as I’ve aged and my skin has gotten drier, this tinted moisturizer doesn’t work for me anymore. But, it still has a cult following so if you have normal or oily skin, you may love it. You can see in my Beautycounter Dew Skin Review how it applies and the amount of coverage it gives.
I liked this when I first started using it, but after a few weeks, I started breaking out. When I stopped using this, the breakouts went away. I’ve tried 3 different times to incorporate it, but broke out everytime. But some people must love it considering it’s so popular. I wrote a review of the All Bright C Toner where I first shared that I liked it, but have since updated it to share my experience with continued use.
I LOVE how the Beautycounter Think Big Mascara looks and for a very clean mascara, it’s the boldest lash look you can find. But, it smudges on me unless I layer it with a tubing mascara. However, other people love it so you probably have to try it for yourself to see.
This also makes me sad that I don’t love it anymore since it was the first brow product I fell in love with, but I’ve since starting using the Tarte Busy Gals Brow Gel and like it better. Beautycounter’s brow gel is a bit dry and can get clumps quickly.
I have dry skin and this made it even drier. If you have oily skin, you’ll probably love it. It’s a great cleaner option than most loose powders on the market.
It makes my legs and arms looks amazing, but it makes an absolute mess and rubs off on clothes so it’s not practical.
I hope that’s helpful! If you have tried any products you love — or hate — feel free to share in the comments! Provide details around what you did or didn’t like, as well as your skin type, so it’s helpful for others! And if you have questions on anything I didn’t list, feel free to ask. I bet I’ve tried it and can give you my honest thoughts before you buy!


Leave a Comment