


Jan9
READ THE POST


Updated May 2026
For years, I’ve much preferred curling my hair rather than blowing it out straight. With some curl to it, I feel more polished, and my hair is more comfortable during the day, since it stays out of my face more easily.
Short answer: yes, if you have fine to medium hair and curl regularly. After more than five years of using mine, the T3 holds heat consistently, doesn’t fry my strands the way cheaper irons did, and curls last through a full day without a re-touch. The model I recommend is the T3 Whirl Trio — it lets you swap barrel sizes for waves vs. tighter curls. If you only curl your hair occasionally, the price is harder to justify. For someone doing it 2-3 times a week, it’s earned its spot in my drawer.
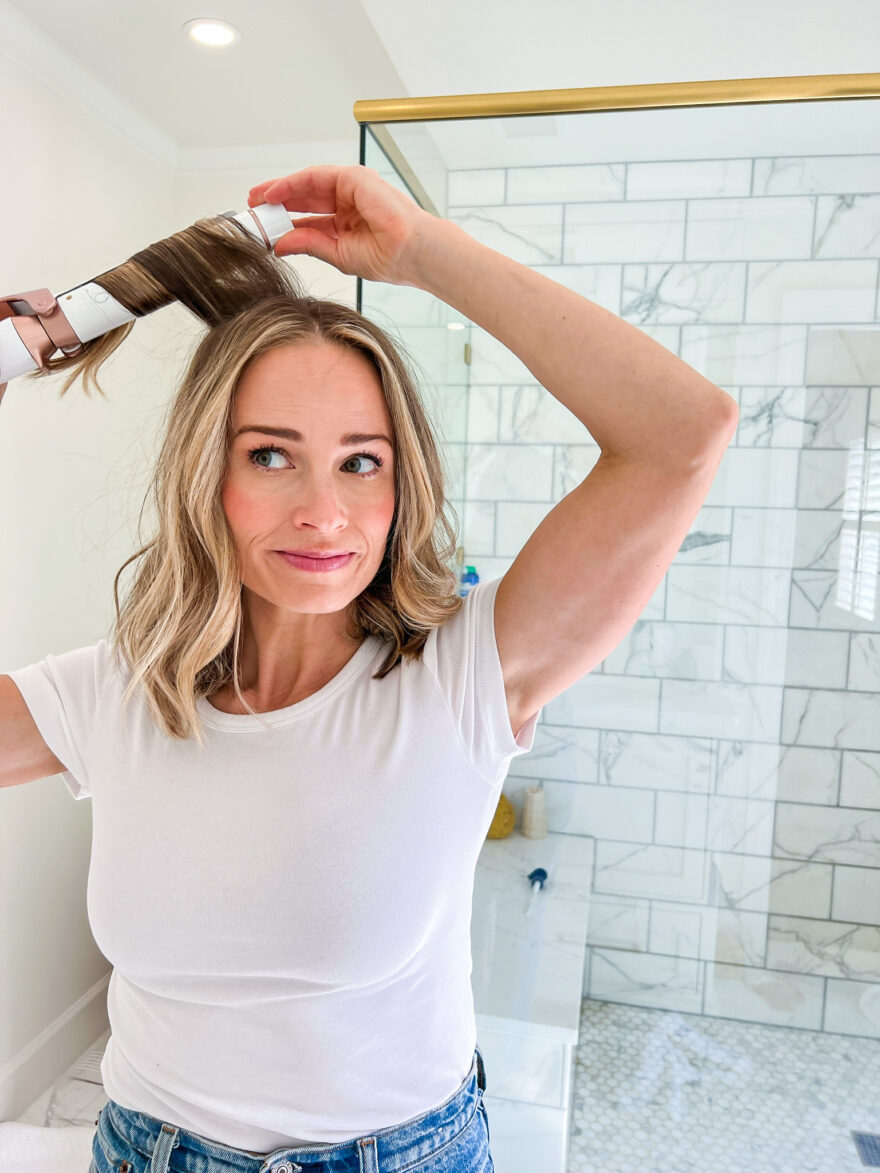
Here’s my tutorial showing how I curl my hair. And while practice makes perfect, I do believe the right curling iron will make it SO much easier, and will make your hair look so much better.
T3 Micro makes several curling irons at different price points. Here’s a quick overview, starting with the one I use and recommend:
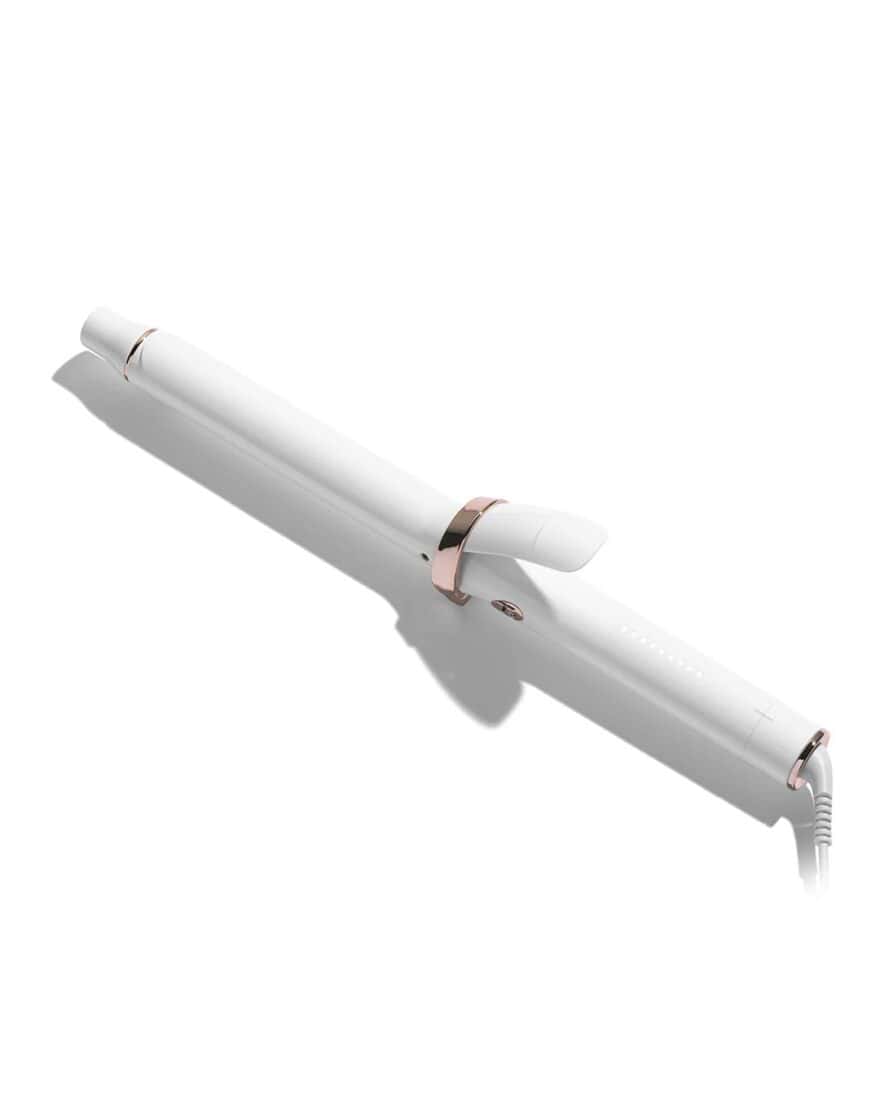
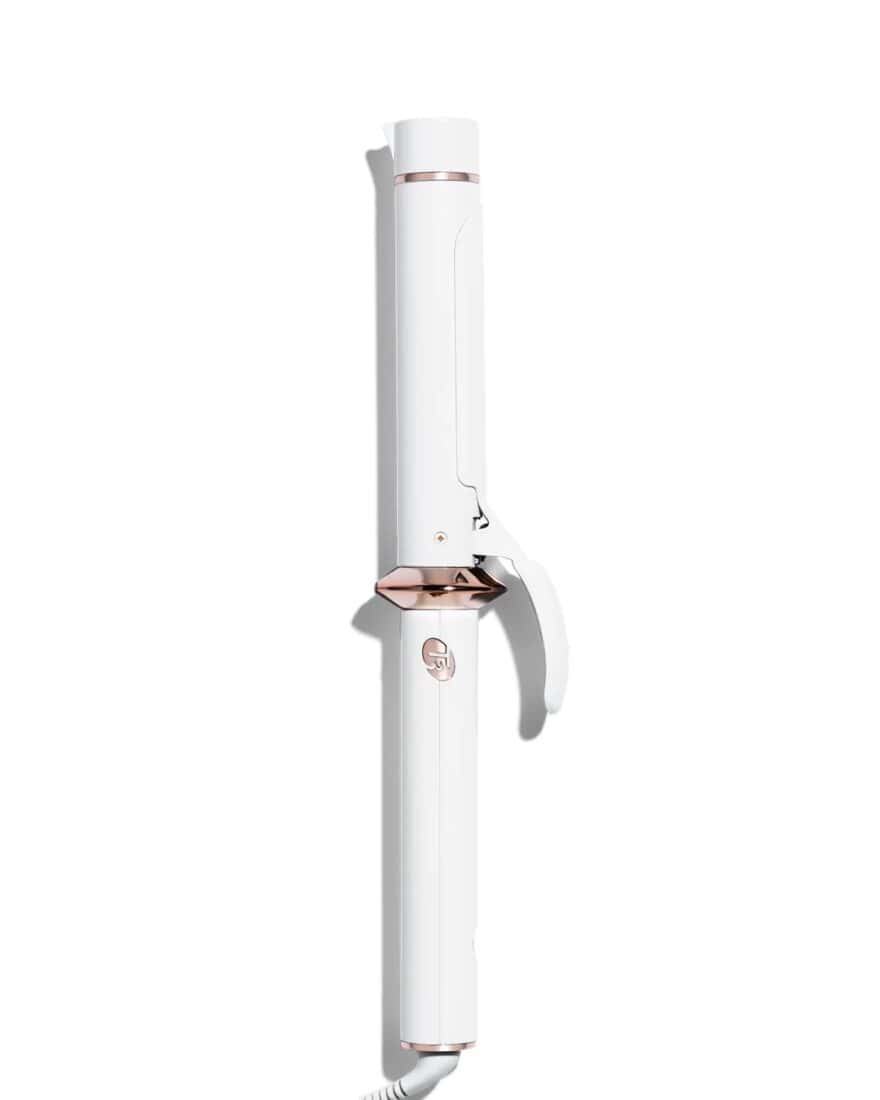
This is the one I own and recommend. The T3 SinglePass Curl X has an extra-long CeraGloss ceramic barrel, 9 heat settings, and Digital T3 SinglePass technology for fast, one-pass styling. It’s been my go-to for four-plus years, and it’s still in perfect condition.
Price: $159
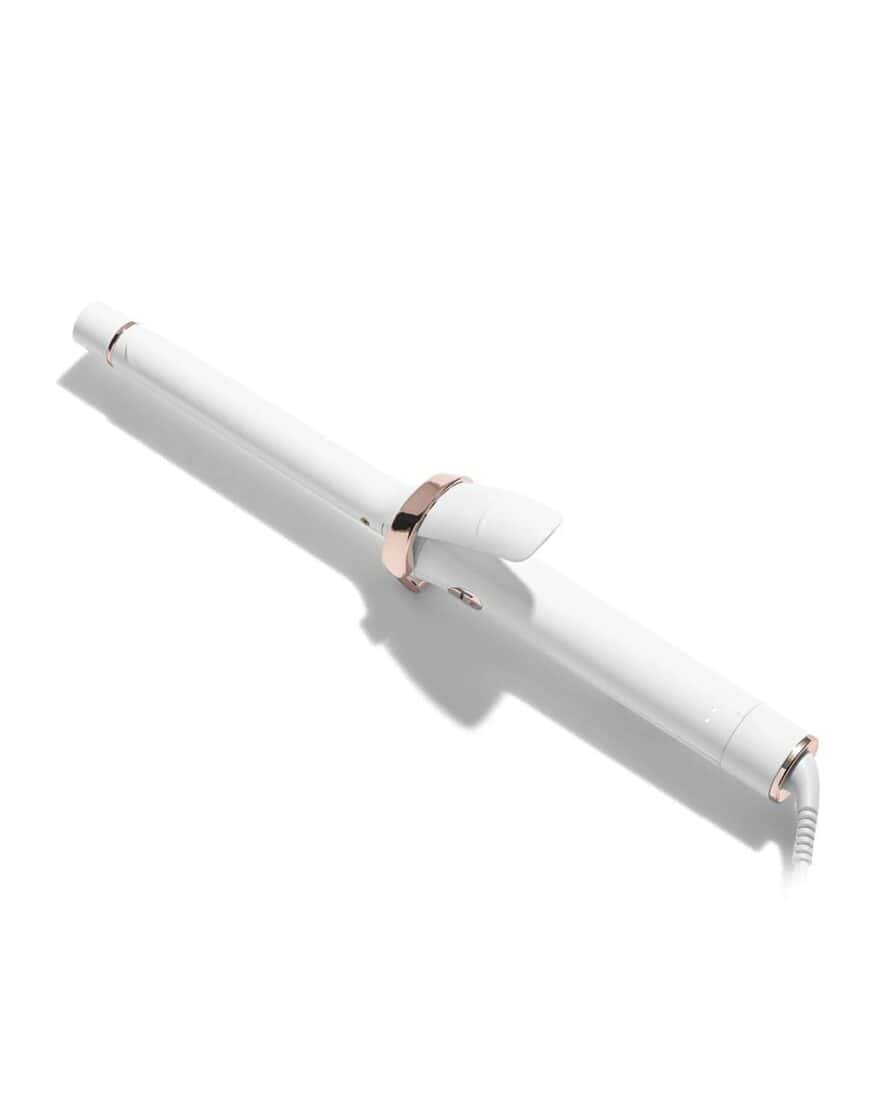
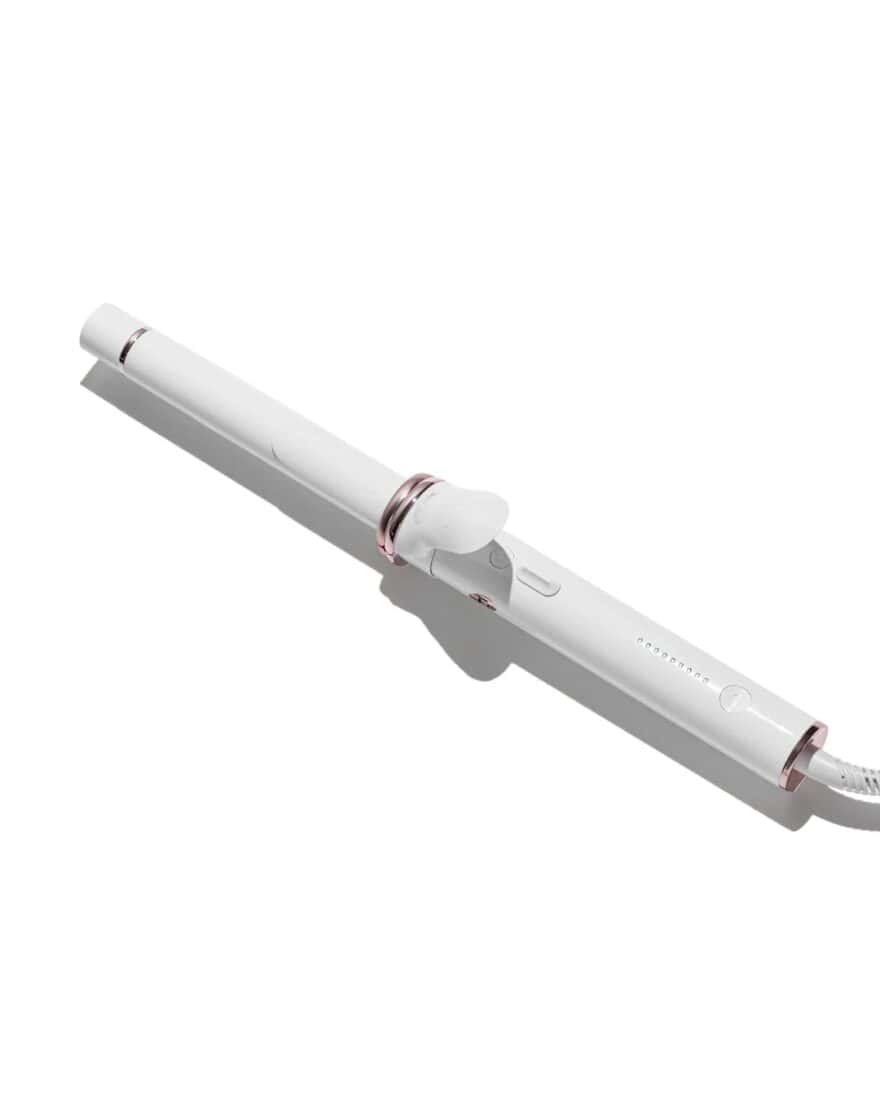
The original T3 SinglePass Curl is slightly simpler with 5 heat settings and a shorter barrel. Still an excellent curling iron, and a great entry point into the T3 single pass lineup.
Price: $169
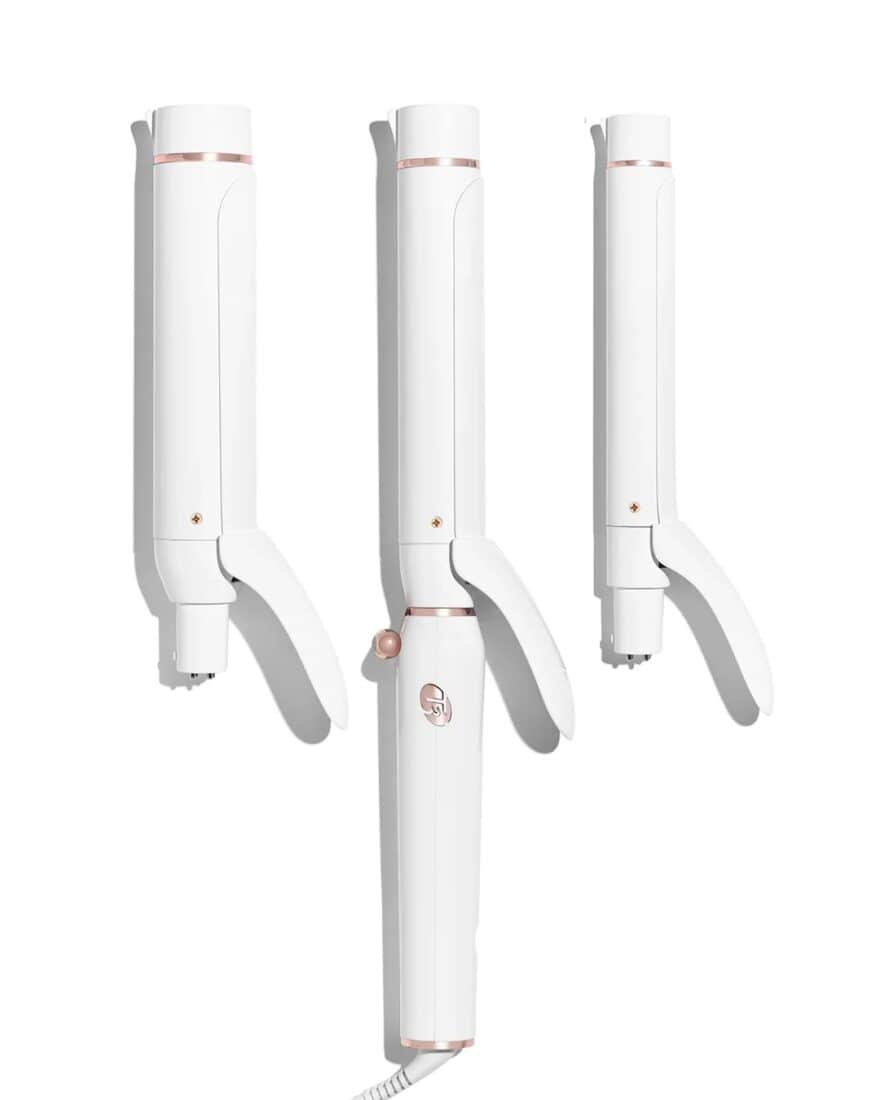
If you change your hair length a lot, like styling your hair in many different ways, or you’re a professional stylist, the T3 with interchangeable barrels might be worth it. You buy one base and swap out barrel sizes. I think it’s overkill for most people, but it’s a solid option if you want flexibility.
Price: $399
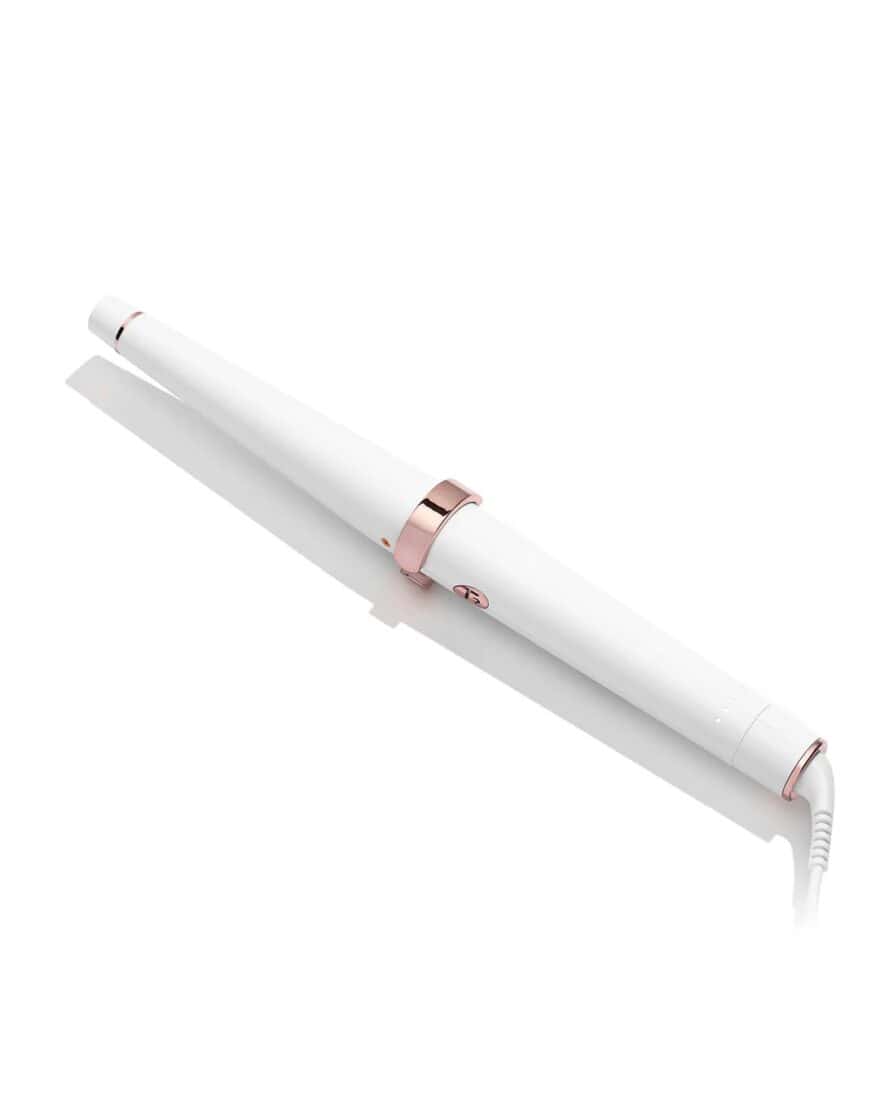
T3 also makes curling wands without a clamp. So many people burn themselves on wands or have to put on gloves, which seems annoying. Plus, I find a clamp gives me more variety in the types of curls I can make. If you’re set on a wand, T3’s have good reviews!
Price: $199
The T3 Twirl Ceramic is a 1.25″ clamp curling iron with a CeraGloss ceramic barrel and 5 digital heat settings. It uses the same Digital T3 SinglePass technology as the higher-end models, just in a more streamlined package. A solid option if you want T3 quality without the Curl X price tag.
Price: $160
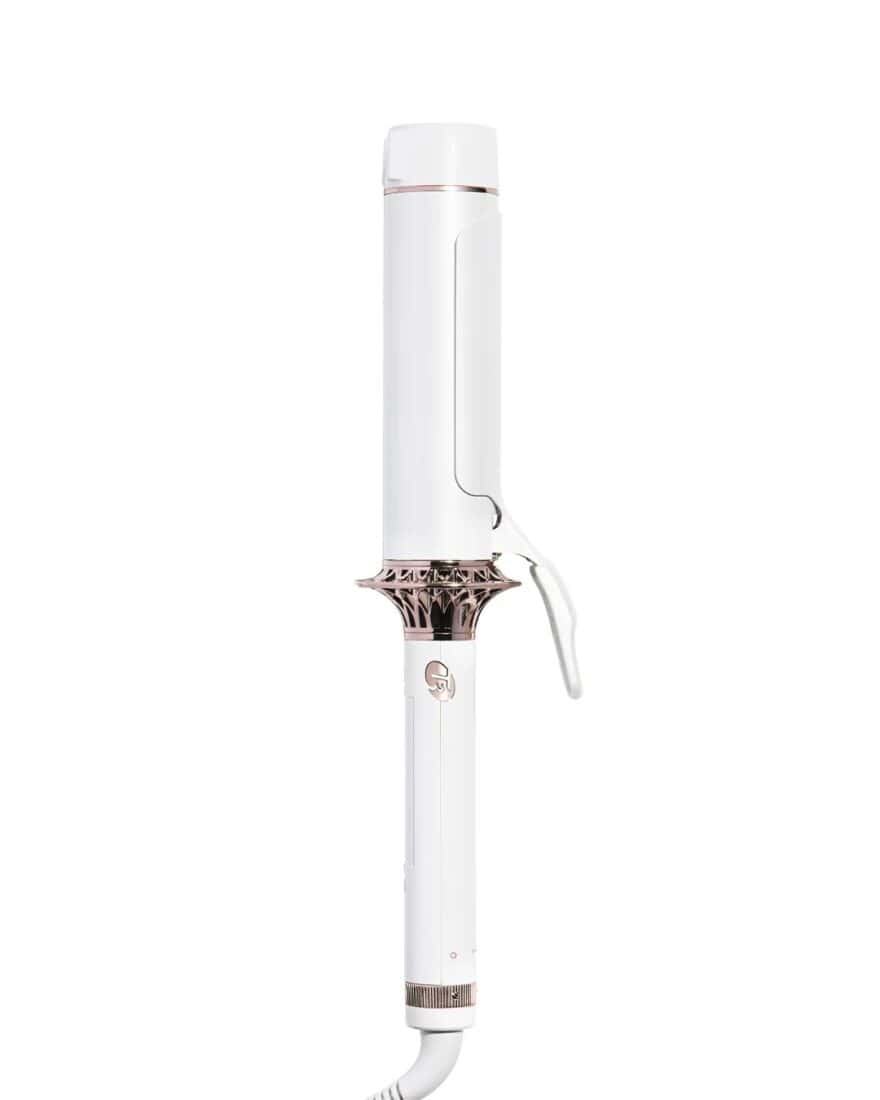
The T3 BodyWaver has a 1.75” barrel designed to create big, voluminous blowout waves without a dryer. It uses the same Digital T3 SinglePass technology but the oversized barrel gives you that full, bouncy look instead of a tighter curl. If big waves are your thing, this is the one.
Price: $199
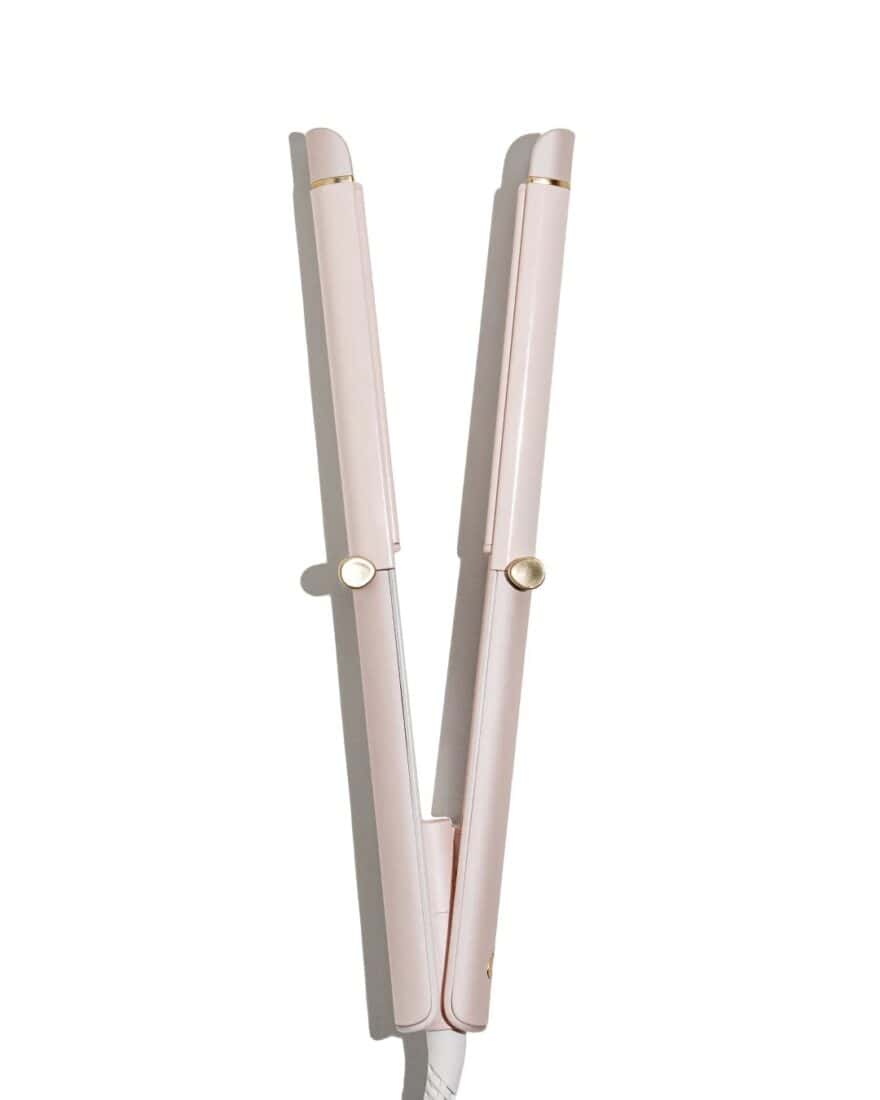
The T3 Curling Straightener is a 2-in-1 tool with wraparound heated plates that straightens, curls, or creates waves in a single pass. It’s powered by T3 SinglePass technology and uses CeraGloss ceramic plates. A good option if you want one tool that does both.
Price: $199
The T3 CurlWrap is an automatic rotating curling iron, so it does the curling for you. It uses T3 AutoTwist Technology with customizable heat and timer settings. I haven’t personally tried it, but it’s worth considering if you struggle with technique or just want the process to be faster.
Price: $209
Before T3, I used the Hot Tools curling iron and thought it was fine. But when the spring broke, I invested in the T3 Singlepass Curl X curling iron since T3 hair curlers had great reviews. And I LOVE it.
My curls hold their curl longer. The iron feels sturdier, and the clamp is easier to use. It never creases my hair. And my hair is in better shape because it heats more evenly. I’ll share more details below, including pros and cons, but the short story is that it’s worth investing in.
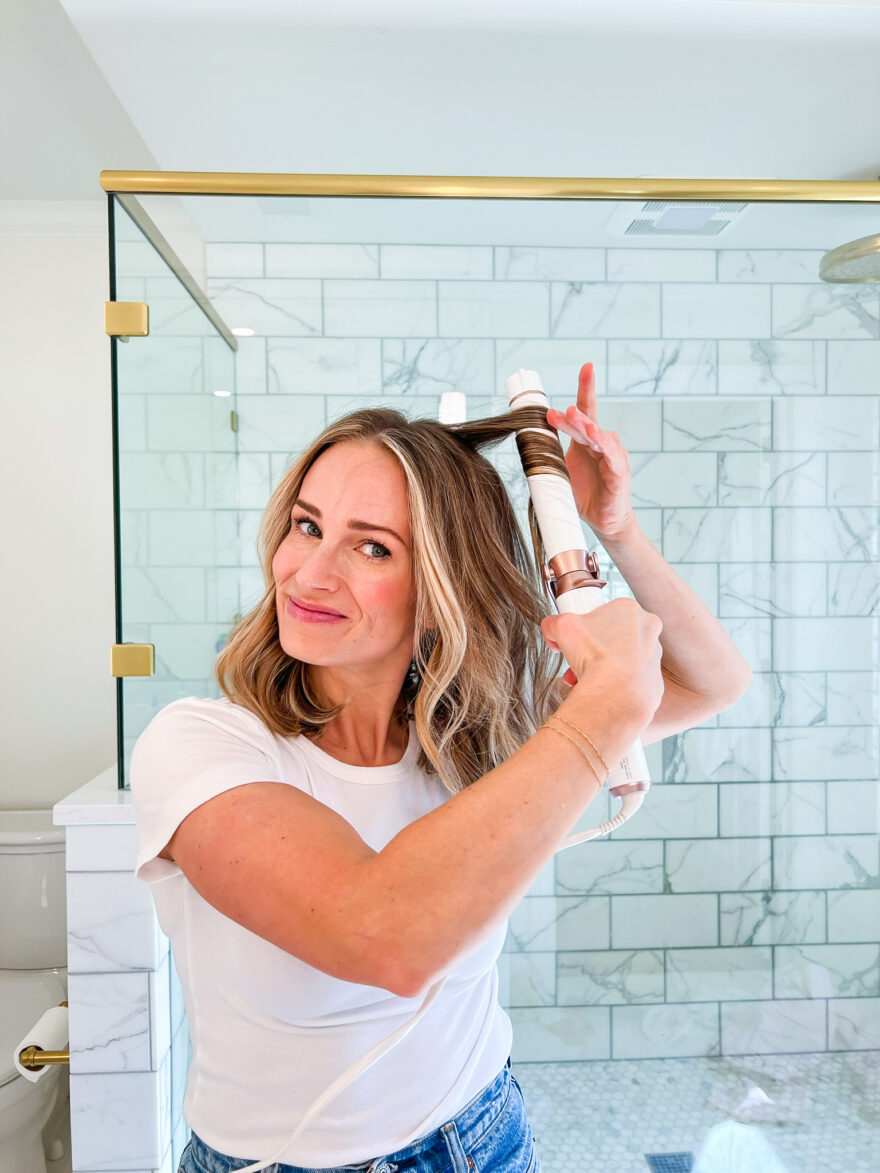
The T3 Single pass Curl X is what I own and recommend. This curling iron is a traditional clip barrel curling iron, and the barrel does not detach from the base. It’s the most affordable curling iron T3 offers at $149.99 and it’s been a GREAT curling iron for four years and counting.
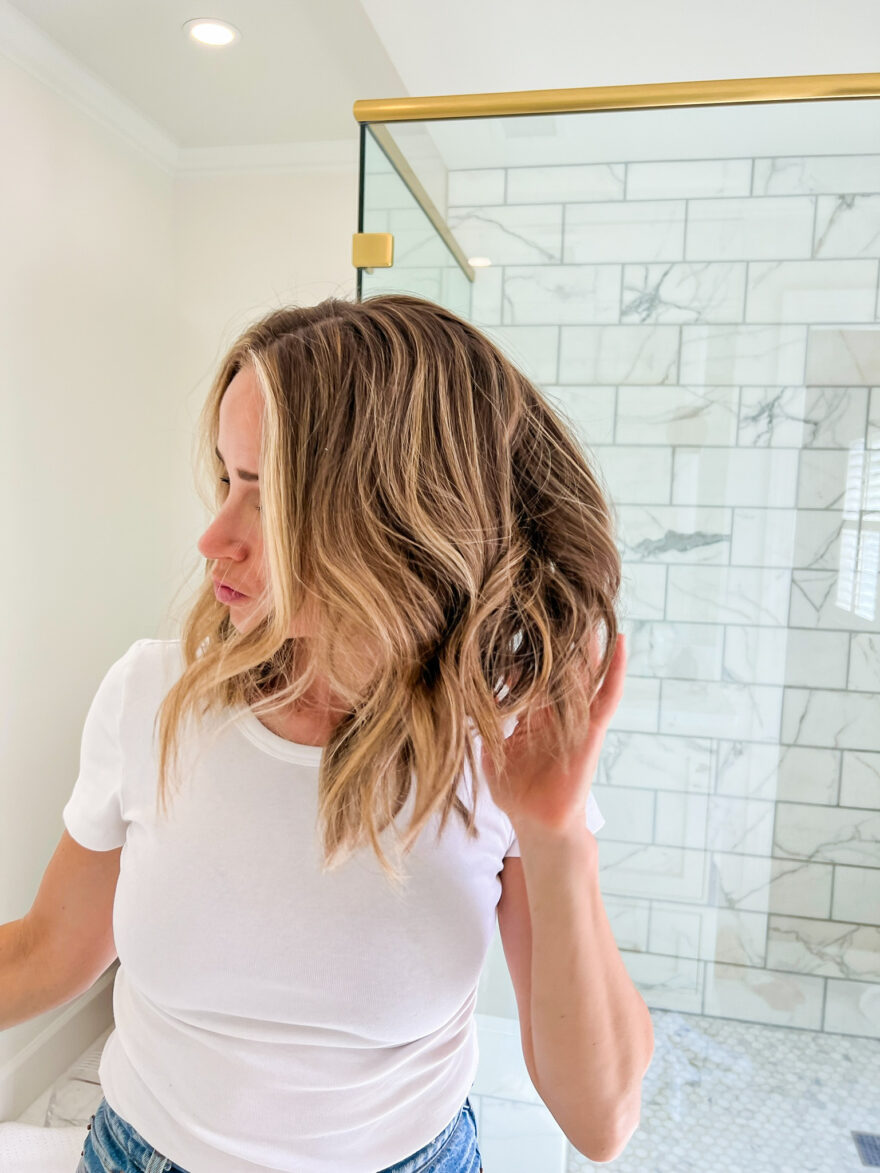
The Singlepass Curl X curling iron has a few barrel sizes, but I like the 1.25″ because it’s the most versatile size for all hair lengths. I prefer casual curls, and this size gives me the perfect defined curl that falls out perfectly over the rest of the day.
Curls last all day. I always use styling cream, and I’m sure that helps, but the T3 single pass getting hotter and more consistently than cheaper irons makes a real difference in how long the curls hold.
No temperature fluctuations. This prevents it from getting too hot and damaging your hair. It’s especially great for fine hair, which is more prone to damage. (I have fine hair, but I have a lot of it.)
Sturdy, reliable clamp. Tighter spring than most curling irons. It doesn’t crease my hair and gives me more control when curling, especially when wrapping longer sections.
Durable. I had to replace my Hot Tools every 12–18 months because the clamp would break. I’ve used my T3 Micro curling iron multiple times a week for four years and it’s still in perfect condition.
It’s cute. I like the all-white design and sleek components. Doesn’t impact performance, but I appreciate it.
The price point. If you’ve been spending $20–40 on curling irons, $149–179 feels like a lot. But I easily spent $100 replacing cheaper ones every 1–2 years. I’m listing it as a con simply because I think more people would be on board if it were closer to $100.
$159 (Curl X) / $169 (original SinglePass)
While they sell other curling irons I discussed above, the SinglePass is the simplest to use, and most people really don’t need many more bells and whistles. The best place to order your T3 curling iron is directly from T3 because they will handle issues if yours is not working properly, but they sometimes go out of stock. Amazon also sells T3!
I have a hair-curling video tutorial below, and I also have a blog post with pictures of the finished look, plus the products I use to help my curls last.
In 2003, T3 was started as part tech start-up, part beauty venture. They wanted to reinvent hair styling by creating new styling tools that were technology-forward, fast-working, and designed with high performance and better results in mind. I truly think they nailed this.
What really sets the T3 curling iron apart is the Digital T3 SinglePass technology. It delivers precise heat with no hot or cool spots, so you get consistent results every pass. Most cheaper curling irons run hotter in some spots and cooler in others, which causes both damage and uneven curls.
They offer other great tools, too. I own the travel-sized hair dryer and LOVE it (I’ll never use a hotel hair dryer again), and I recently got the Airebrush and it’s been life-changing (here’s a video of how I use it). And the T3 hairdryer is better than the viral Dyson hairdryer (I own both). I have a full review of the T3 blow dryer here and you can compare it with my Dyson hairdryer review.
Yes. It’s more expensive than most curling irons, but my hair is in better shape and I’ve spent less money overall since I don’t have to replace it as often. I’ve used mine multiple times a week for four years and it’s still perfect. The best place to order is directly from T3 just in case you have any issues. They’ll take great care of you. Amazon also sells T3.
Yes, same answer. The durability alone makes it worth it. And the quality of the curls, how long they hold, and how much better my hair feels compared to cheaper irons, make it an easy recommendation.
The Digital T3 SinglePass technology is the main thing. It keeps the heat stable and precise so you don’t get hot spots that damage your hair. The CeraGloss ceramic barrel helps smooth and add shine. And the clamp design is genuinely better than anything else I’ve used. I feel like it just gets everything right.
Hot Tools is the most common T3 alternative, and it’s what I used before I switched. It’s a solid curling iron, but the clamp broke on me twice in three years and my curls didn’t hold as long. If you want to try something less expensive before investing in T3, Hot Tools is a reasonable starting point.
It’s less likely to damage your hair than cheaper irons. The precise temperature control means no hot spots, so you’re not accidentally searing sections of your hair. I noticed my hair felt healthier after making the switch. That said, any heat styling can cause damage over time, so a heat protectant is always a good idea.
The T3 SinglePass Curl and Curl X consistently rank at the top of both professional and consumer curling iron reviews. The combination of even heat distribution, ceramic barrel, and how long it lasts makes it a go-to recommendation from stylists and regular users alike.
Costco currently carries the T3 SinglePass Curl 1.25″ Professional Curling Iron for around $99.99. It’s a great way to try T3 at a lower price point. Availability can vary by location and season, so it’s worth checking your local warehouse or the Costco website.
Alright, I’ll wrap this up. Four years of multiple-times-a-week use and my T3 is still going strong. That really is the whole story. If you’ve been on the fence, I’d say go for it.
Order directly from T3 if you can, just in case you ever have an issue with it. They’ll take great care of you. Amazon also sells T3 if you prefer.
Shop The Post


Leave a Comment
2 responses to “T3 Curling Iron Review: Which Model to Buy”
thank you for your best review
Omg I am at a lost for words. Today was my first time using my new t3 curling iron since I purchased it 2 weeks ago as a Christmas gift to myself. Bye bye hot tools no turning back. I will be telling everyone about this amazing tool..